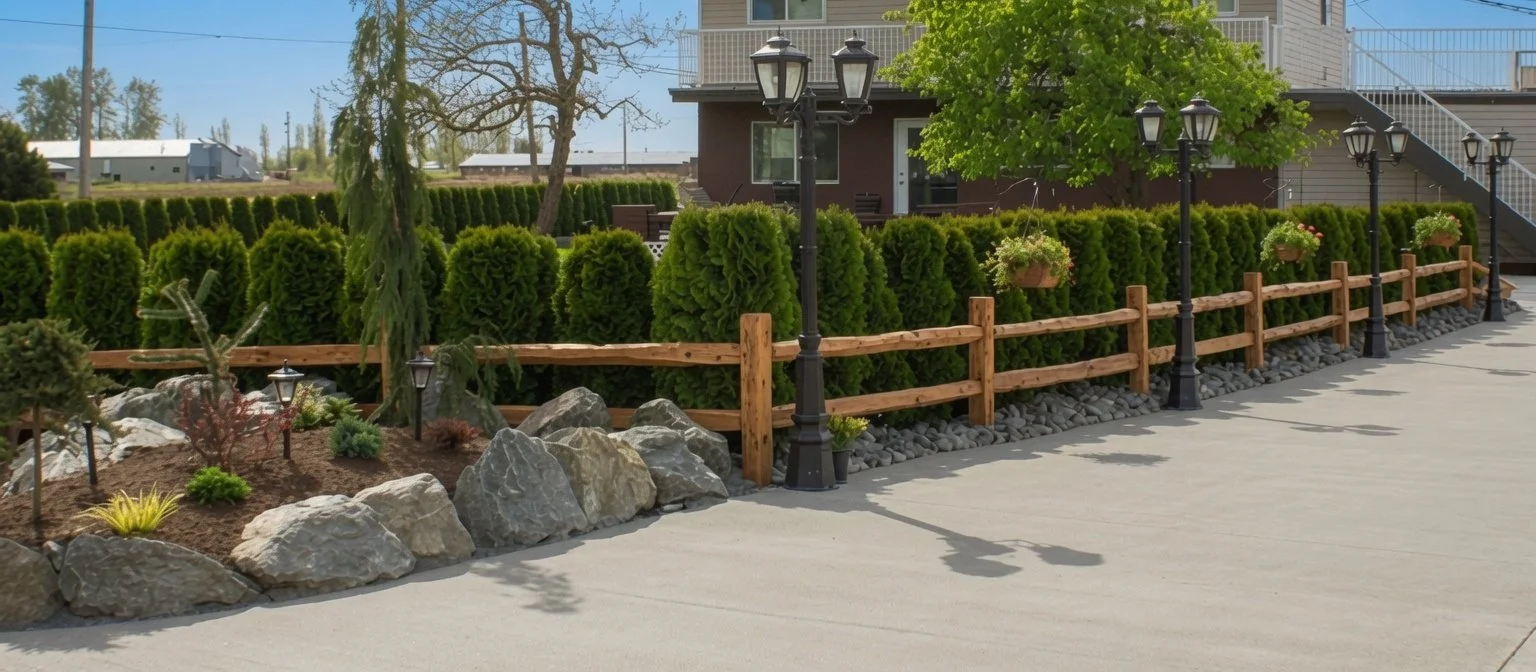
Split Rail Fencing
For 20+ years we have been a primary source in Western Canada for all of your cedar split-rail fencing needs.
We supply, install, and deliver split rail fencing throughout the lower mainland.
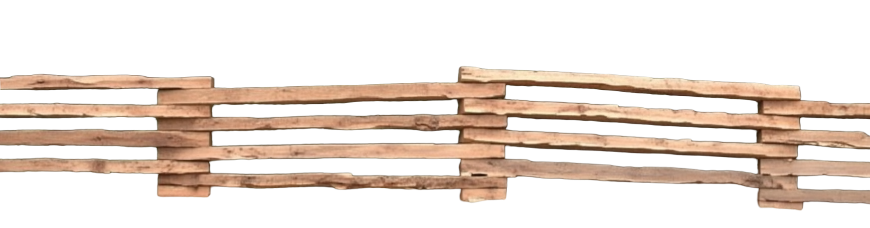
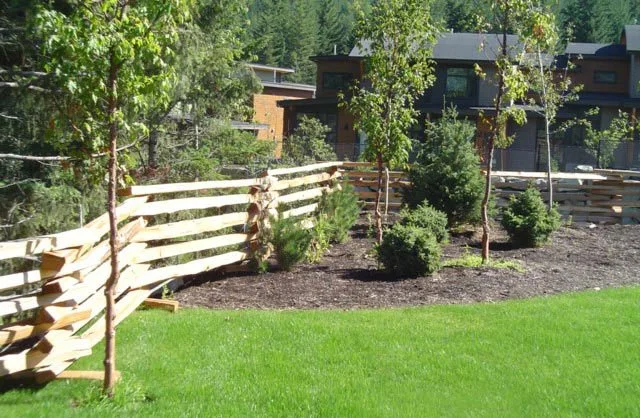
Stacked
SIMPLE FENCE PLANNING
Zig-zag your fence along property lines, through gardens, and around trees with ease.
ENVIRONMENTALLY FRIENDLY
The fencing runs above ground and gets its strength from a diagonal layout so roots remain untouched
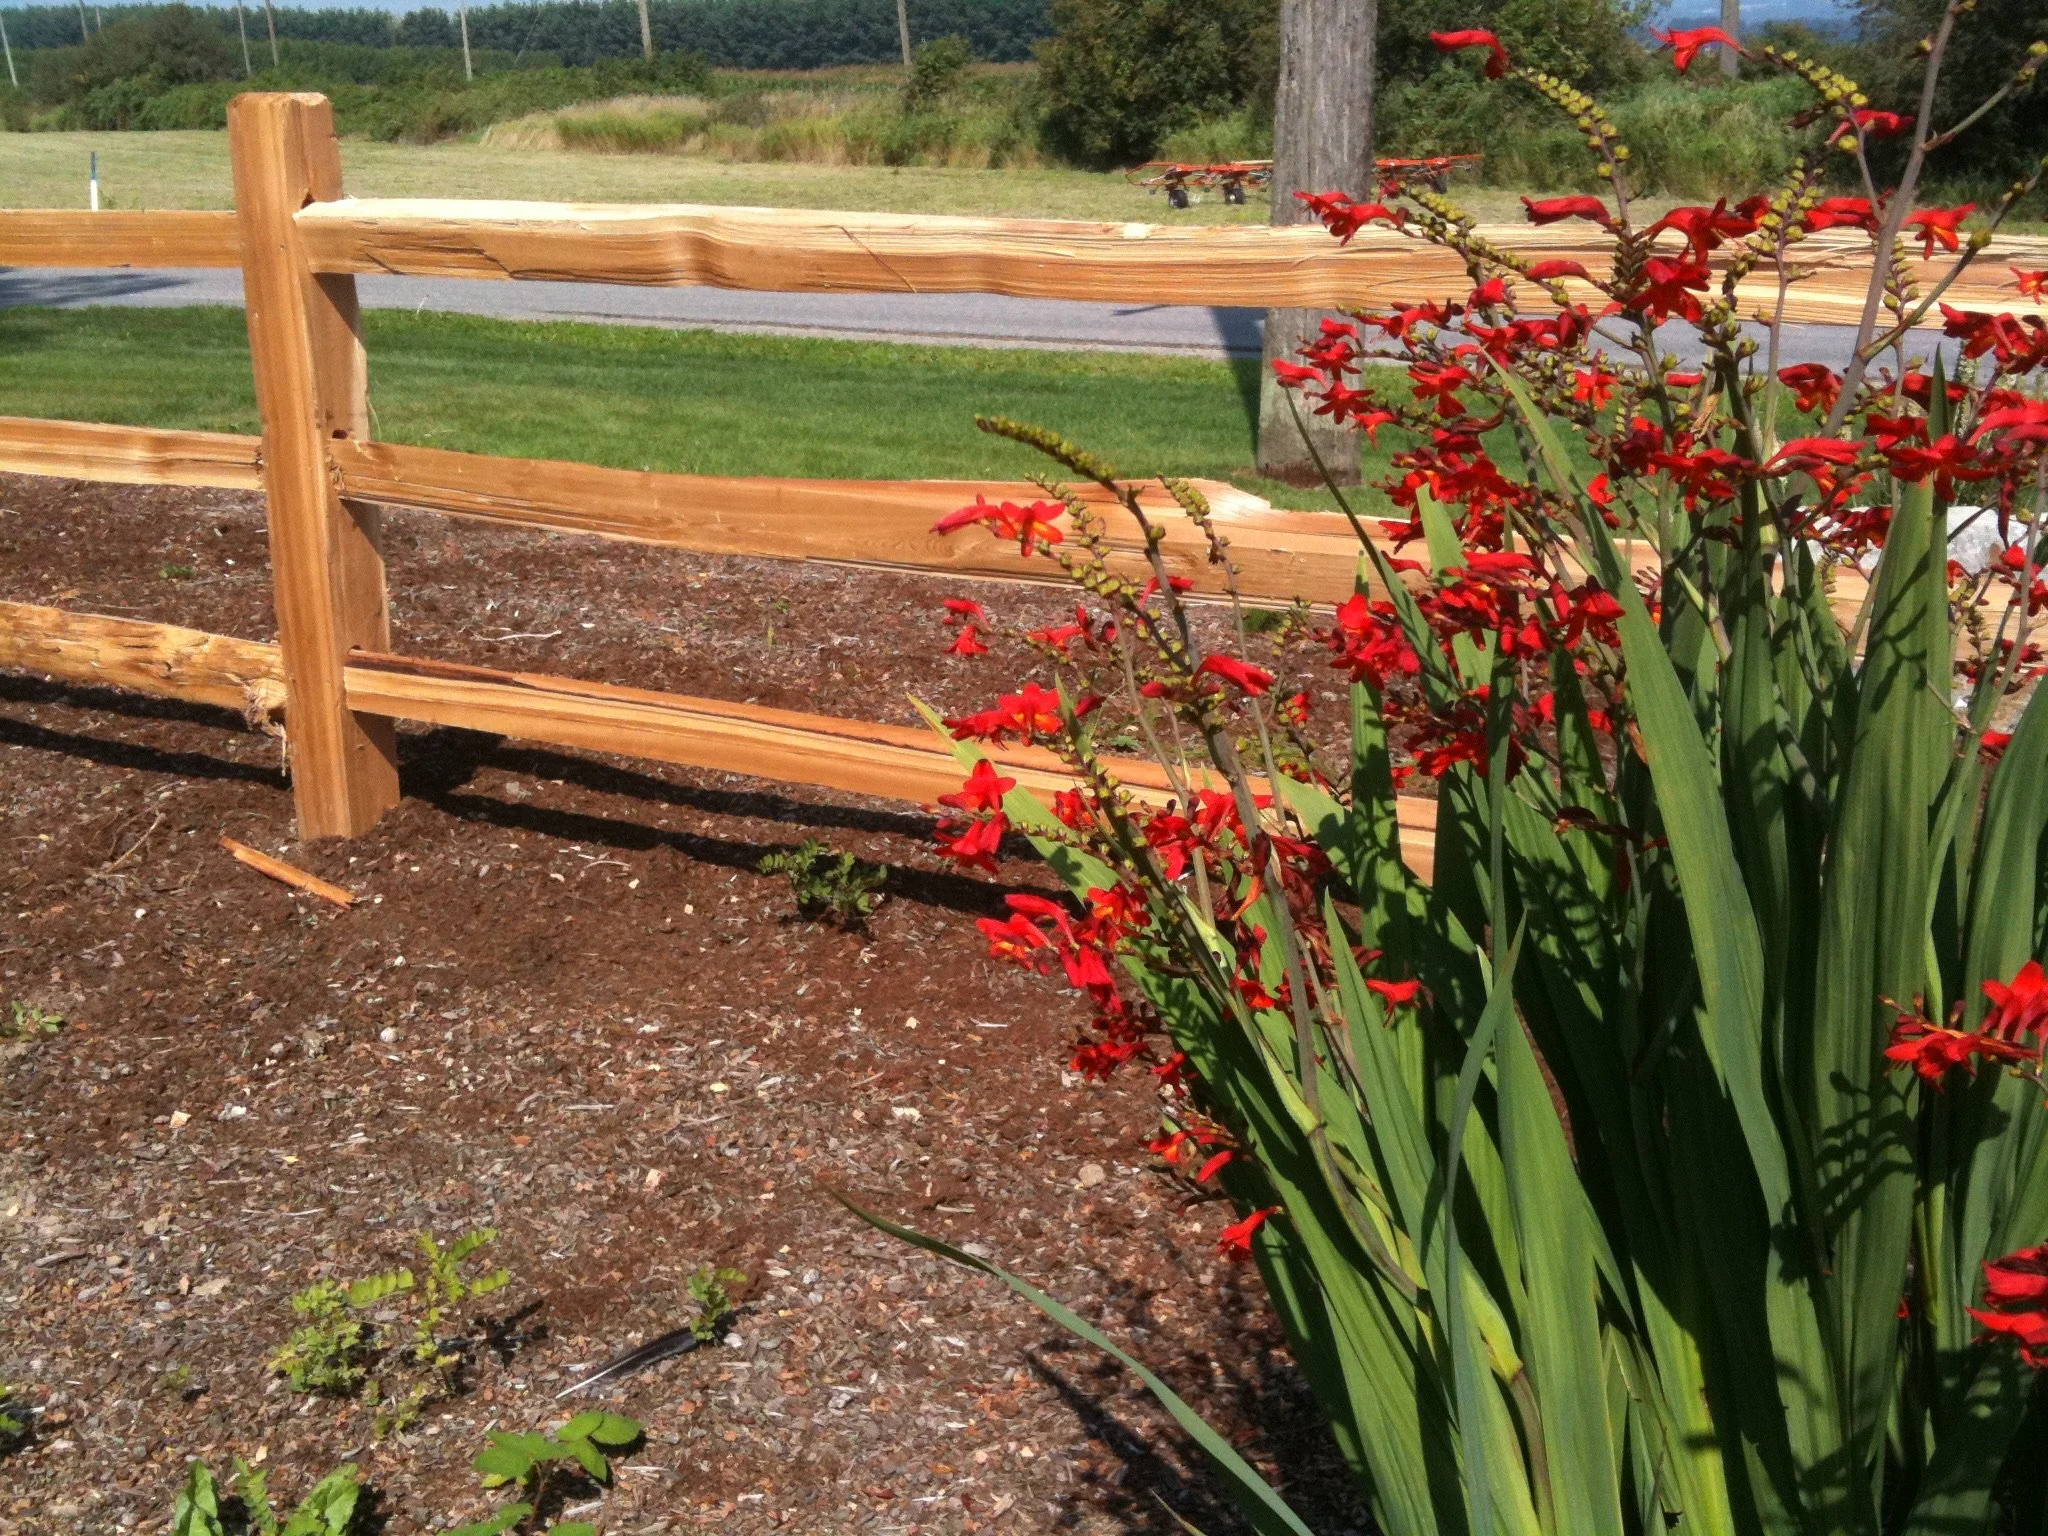
Flexible - Rustic - Traditional
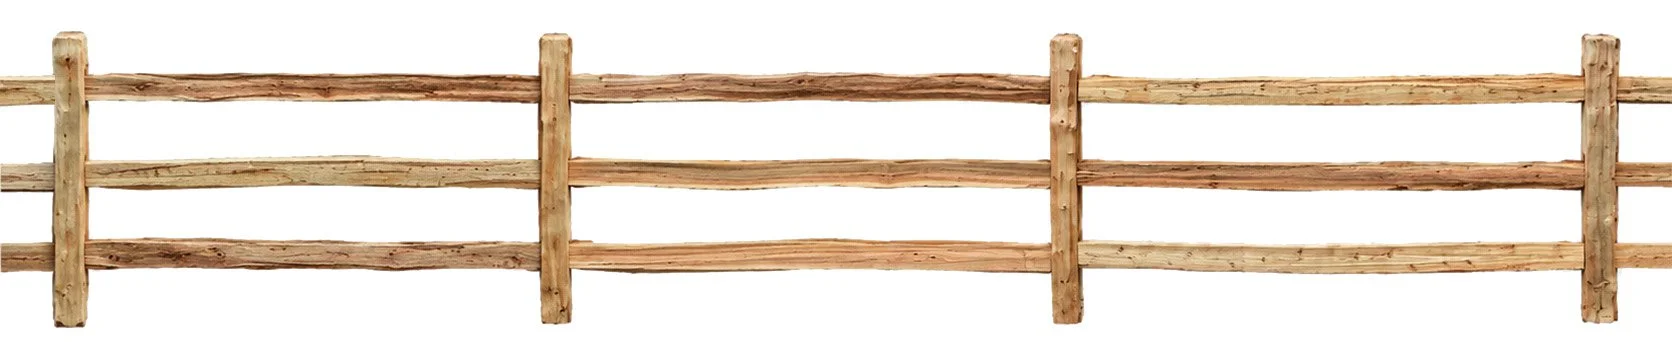
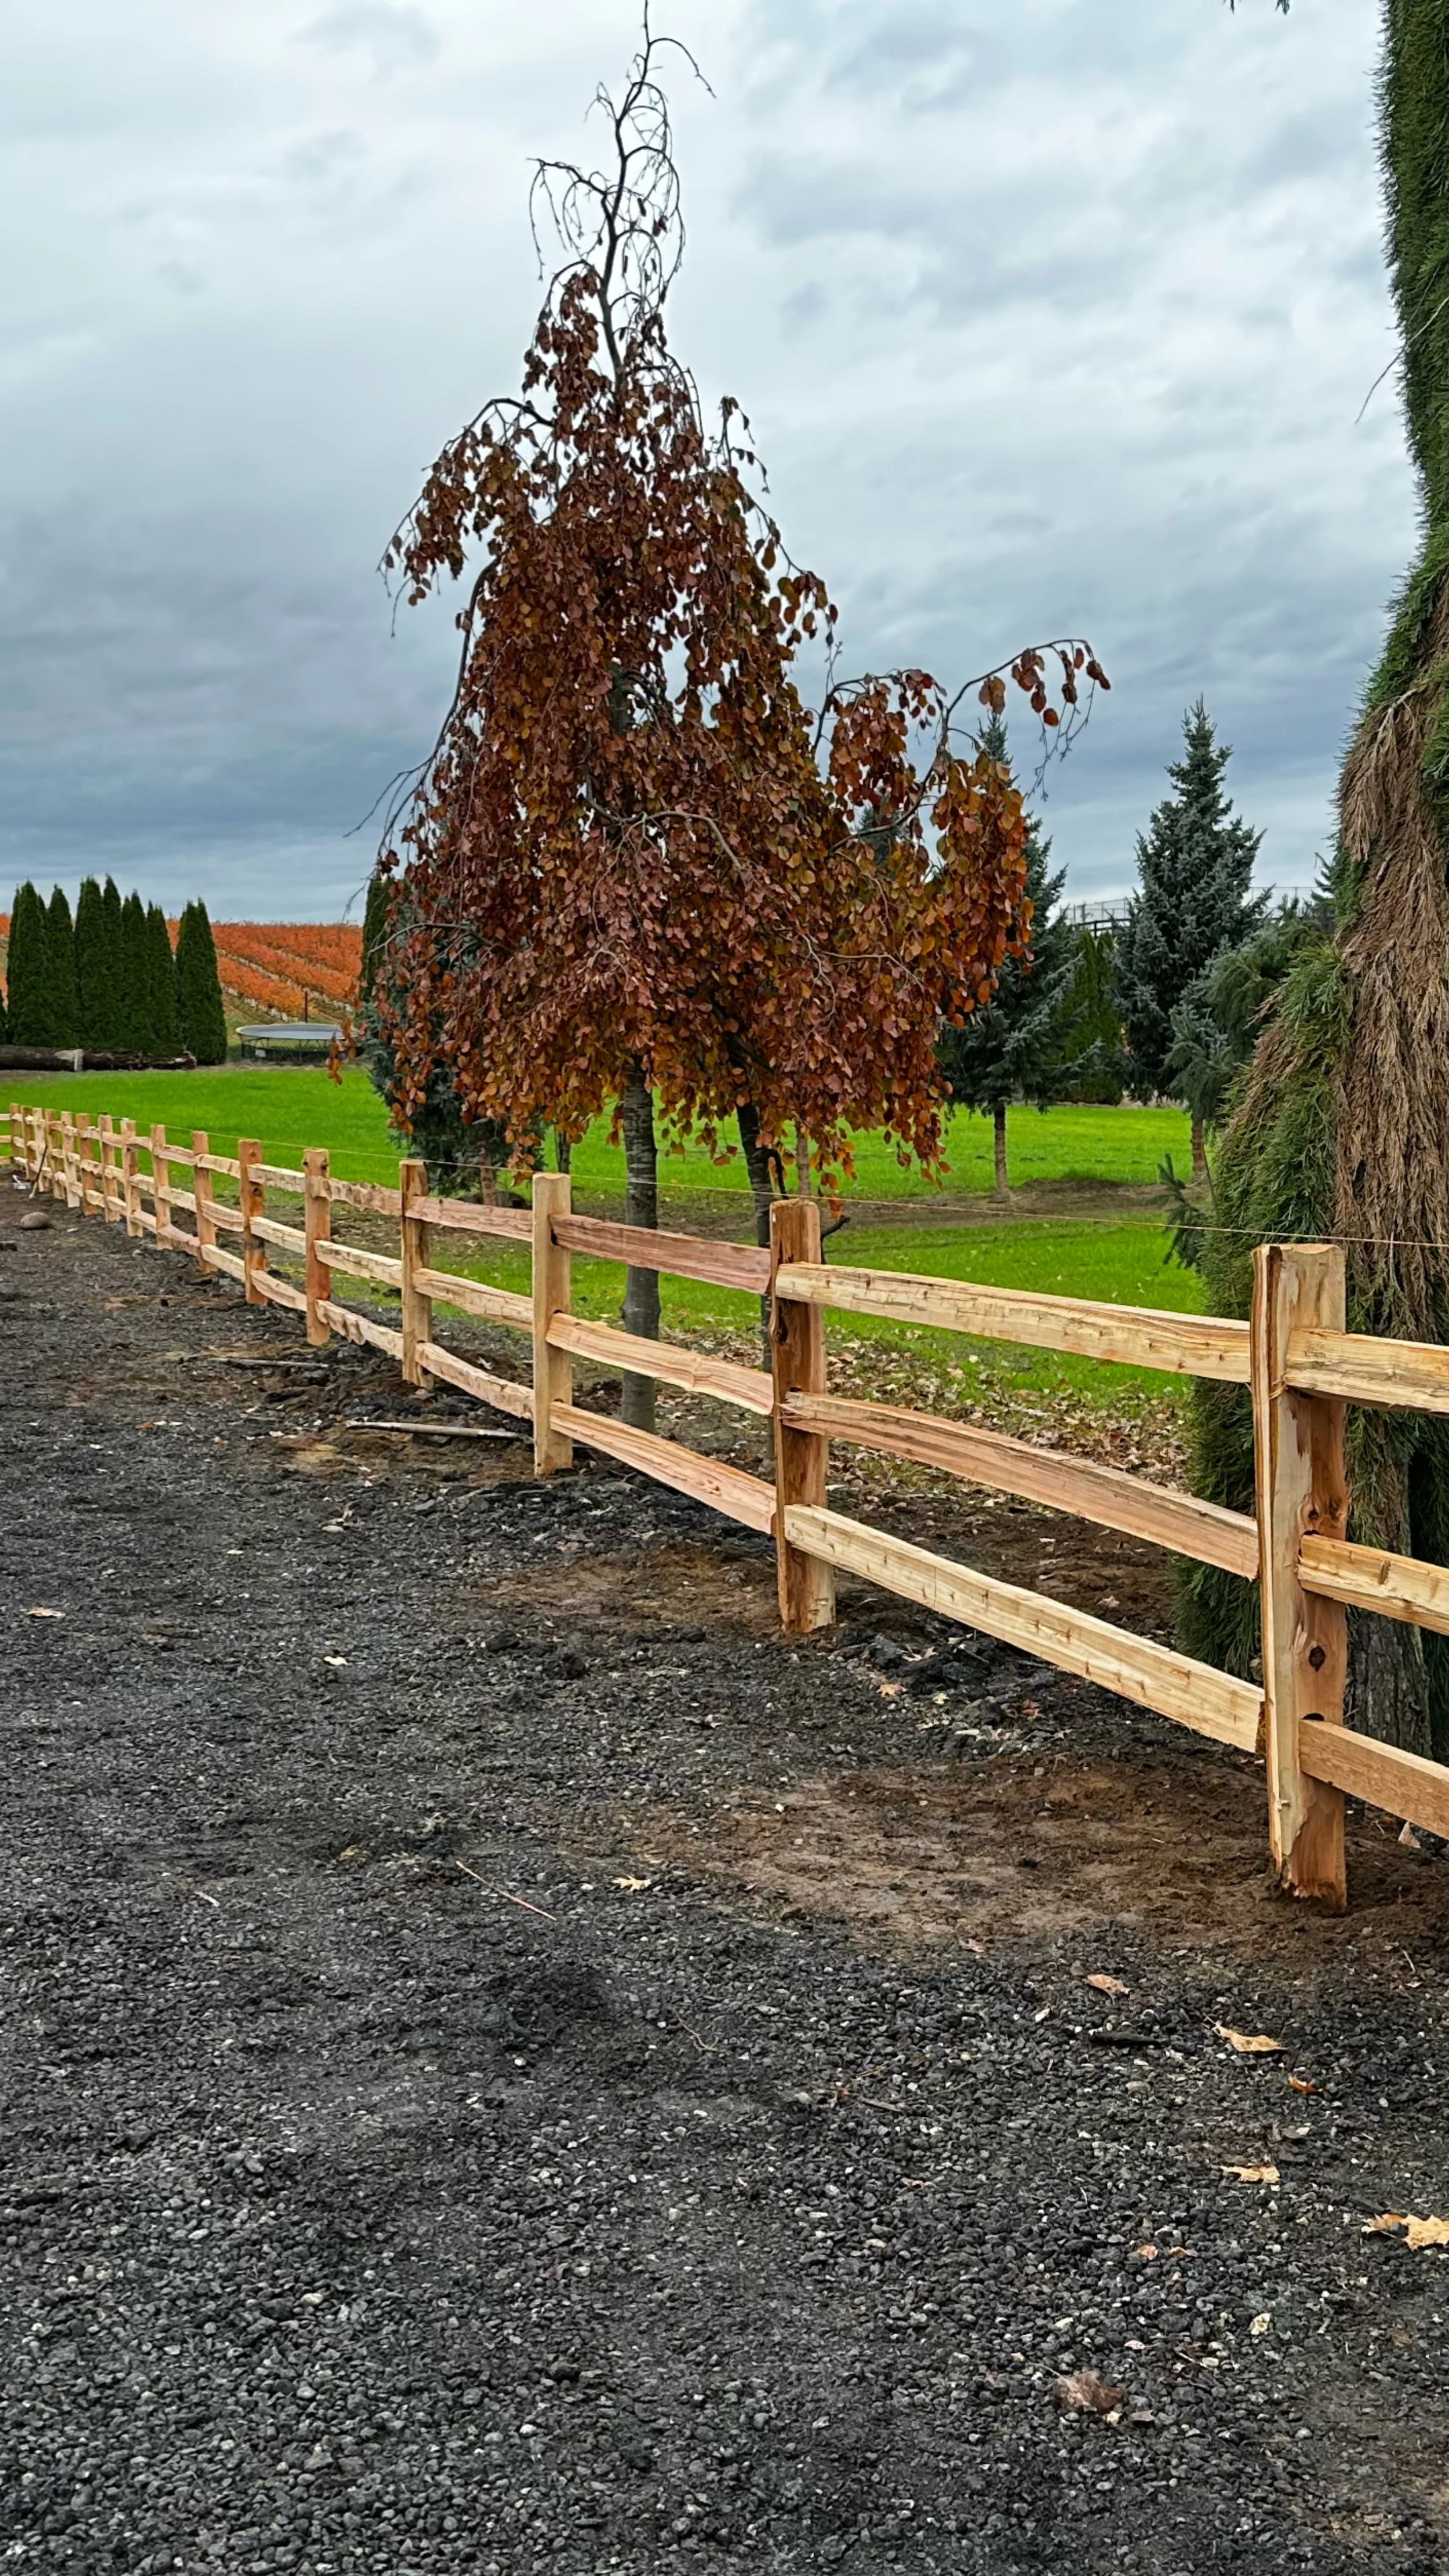
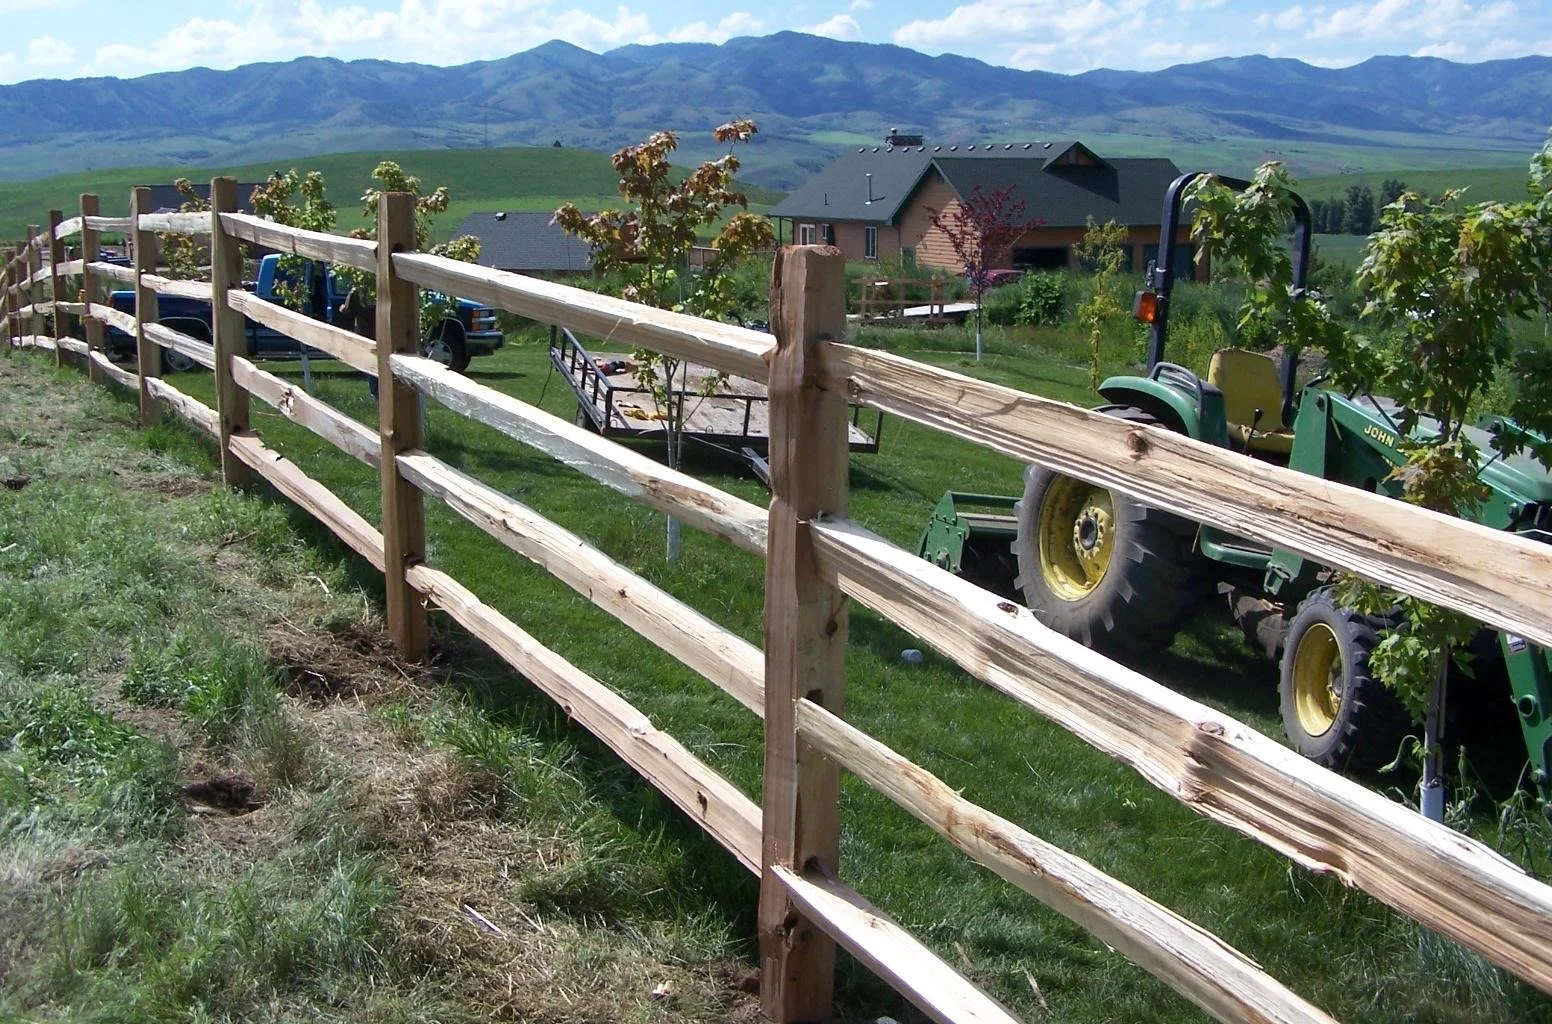
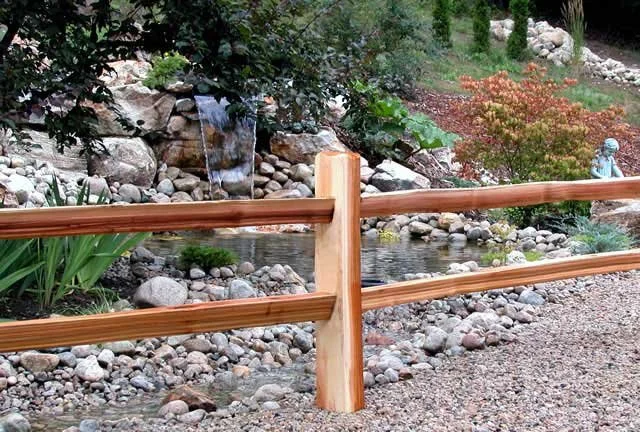
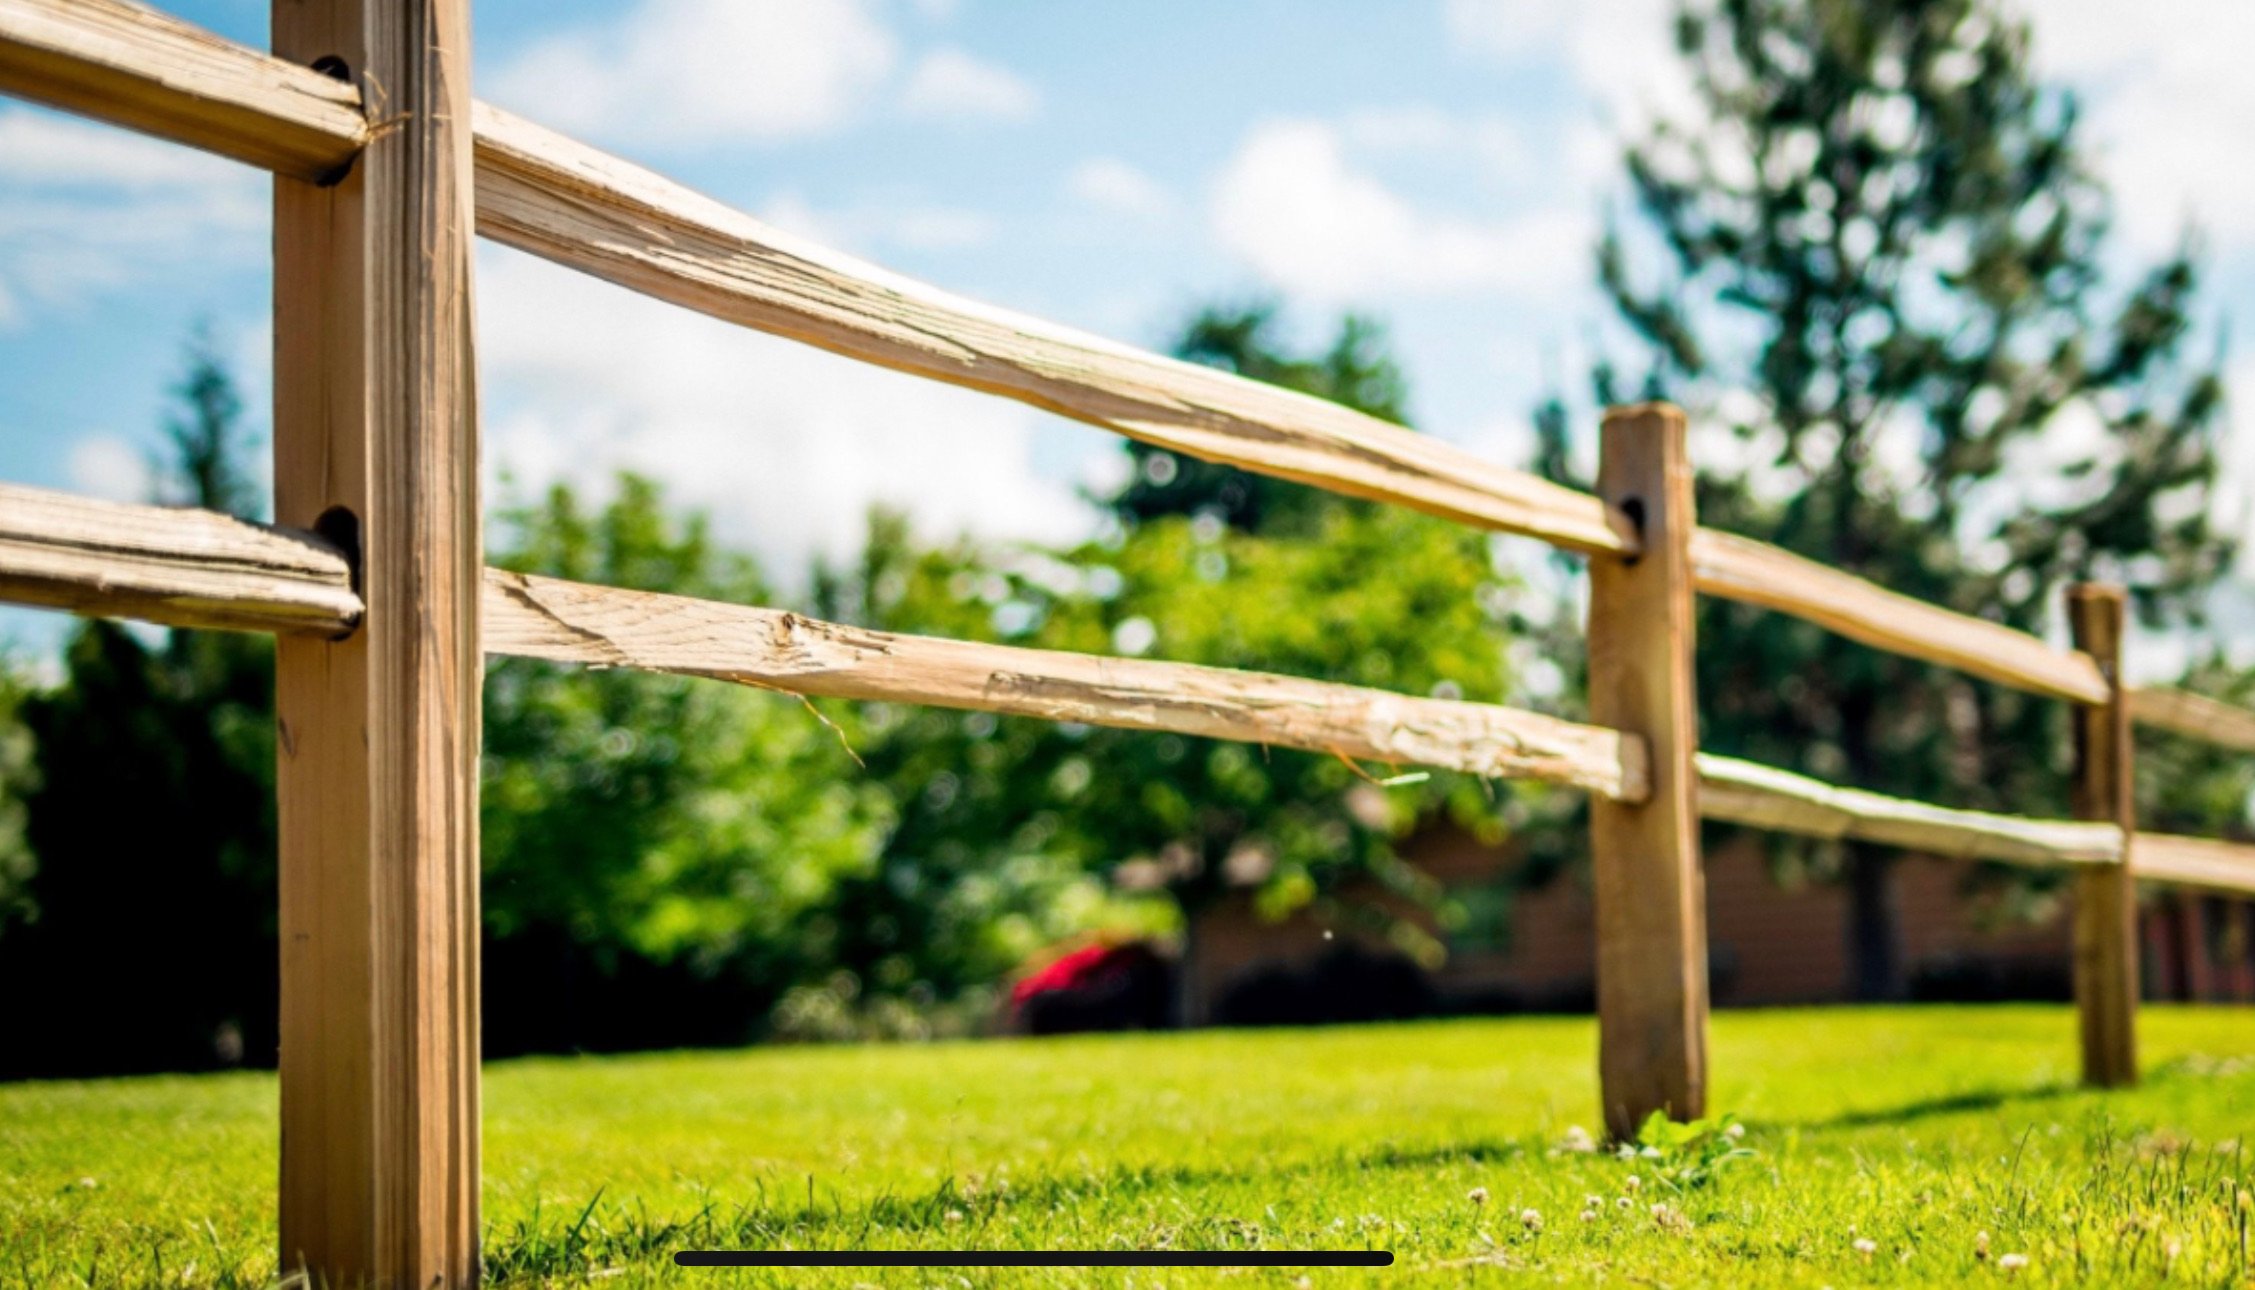
Post & Rail
RELIABLE
With firmly rooted posts and a simple design, this fence will last many years with low maintenance.
PLUG AND PLAY
The horizontal rails slot in the posts for hassle free assembly.
Structured - Classic - Defined


Why Choose Cedar Split Rail Fencing?
Simple. Durable. Beautiful. The perfect fence for your property.
Easy DIY Assembly
Simple stacked or post-and-rail design makes installation straightforward with minimal tools and materials.
Low Maintenance
Pressure wash or use a mold/moss treatment to keep it looking great. Quickly disassembles for repairs.
Exceptional Durability
Cedar naturally resists decay and insects without stains or preservatives.
Timeless Rustic Beauty
Unique curves, knots, and natural gray aging deliver authentic charm to any landscape.
Affordable & Eco-Friendly
Cost-effective with few extra materials. A sustainable choice that’s been loved for centuries.

All Available Styles
Stacked Fence
- Rail Count: 1-5
- Thickness: Standard, Jumbo, Super Jumbo
- Length: 10 ft
Post & Rail
- Rail Count: 2-4
- Thickness: Standard, Jumbo
- Length: 8 ft, 10 ft
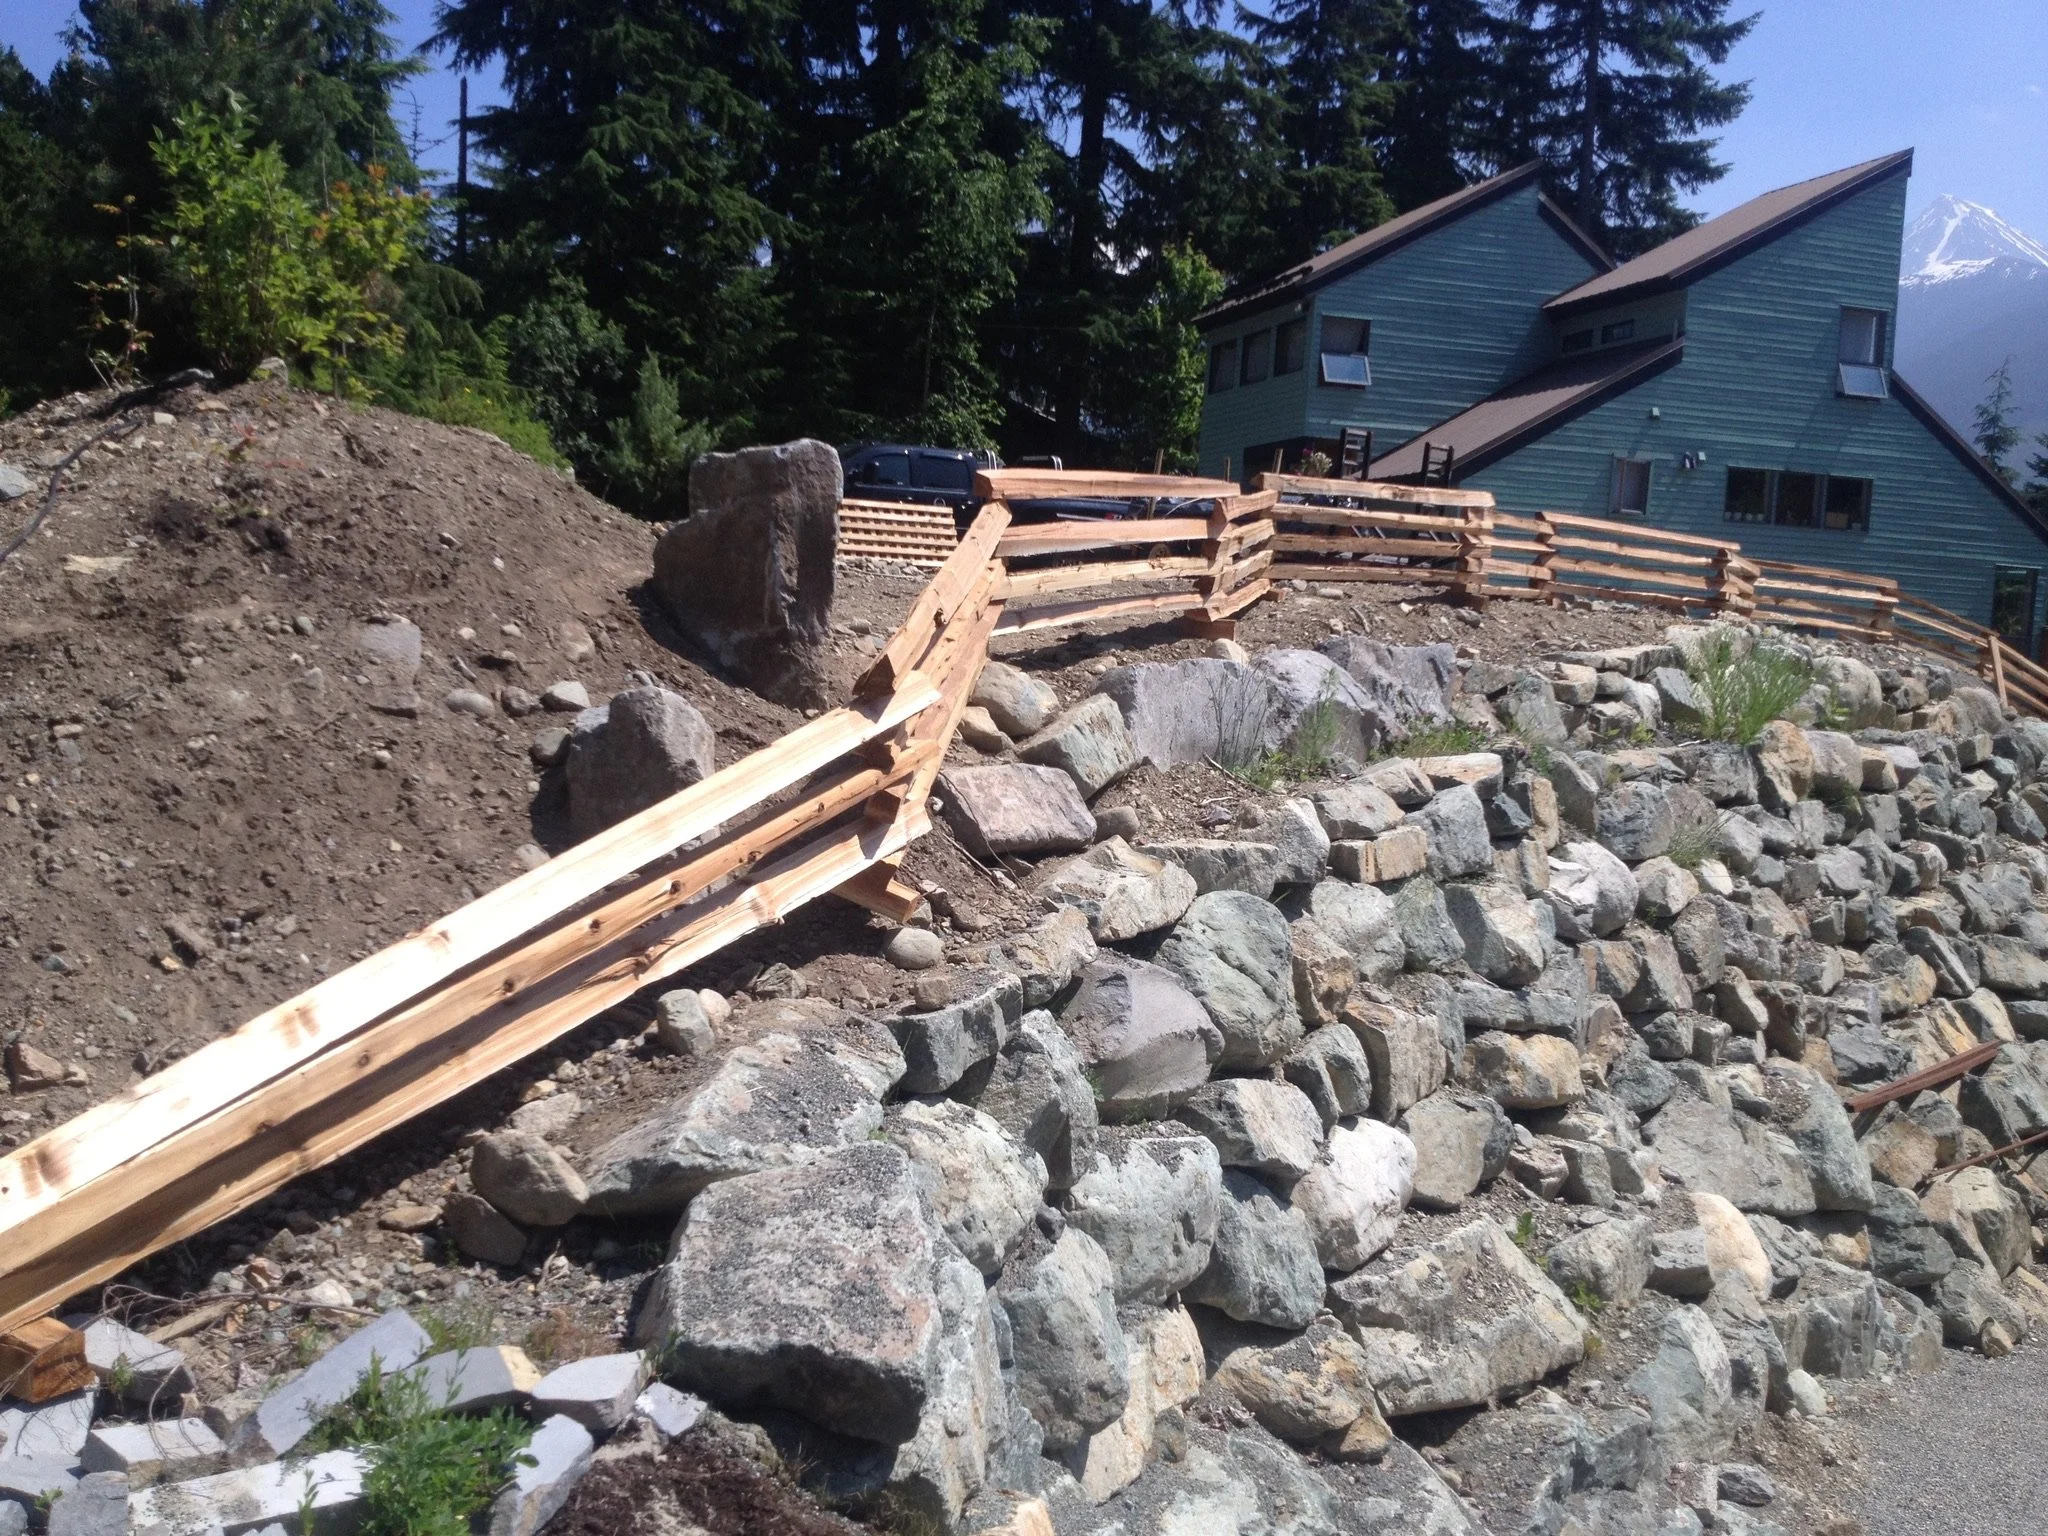
Installation Tips
Before assembling, you need to get a spacer for each section so the fence can be lifted 3” off of the ground. (large flat rocks or 12” rail offcuts work well to lift the fence and prevent rot).
Lay the first layer of rails out roughly where you want the fence to go in a zig-zag pattern, making sure to stack every other rail on top of the other. The sharper/smaller the angle, the stronger the fence will be, so avoid aligning each section in a straight line.
Once you are happy with the layout and the angles of your fence, start from one end and lift up each section and tuck a spacer under the end of each rail, securing them with screws as you go.
Starting from one end, add another layer of rails across the entire length following the same pattern, securing them with screws as you go. Repeat this until you reach your desired height.
For the beginning and end of the fence, you can lay all of the rail ends on top of each other to create a slope called a, “lazy finish,” or you can use some wood spacers and slot them in each gap to square off the end.
Stacked
Tools Required

Post & Rail
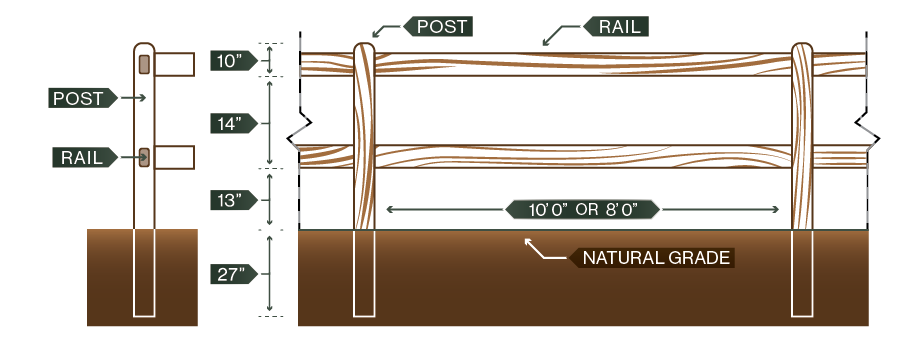
Starting at your first marked point, dig a 10” hole that is 27” deep using an auger or a shovel. (A 27” deep hole will have the bottom rail ~ 13” above ground)
Place an end post into the hole. Use a level to ensure it is perfectly vertical (plumb). Backfill around the post with gravel or the soil from the hole. Tamp the ground firmly around the post using a steel tamping rod or the handle of your shovel. (Using gravel will help with drainage, extending the life of the post)
Slide a rail into the bottom slot of the newly installed post. Align the rail with the string line or point it in the direction you want your next post to be. Make a mark in the ground at the end of the rail and dig another 10” x 27” hole there.
Place a line post into the hole and install the rails between the two posts. If you angle the new post away from the previous post, it will make the rail install easier. Make sure to start from the bottom rail and work your way up. Ensure each rail is fully seated into the slot, and that the post is vertical using a level before moving on.
Fill the hole with gravel or soil and tamp around the post the same as in Step 2, checking that the post remains level after tamping.
Repeat steps 3-5 until you reach the final post where you will put an end post in to finish your fence off.
Once all rails are installed, secure them to the post using 3” deck screws. (1-2 screws per rail end).
Optional: A “lazy finish” can be done on either end of your fence by installing a line post instead of an end post. Then install the rails and lay the ends down at an angle and secure them together with screws.
Tools Required
- Post hole auger [optional]
- Steel tamping rod [optional]
- Shovel
- Level & String Line
- Tape Measure
- Screwdriver
- 3" Deck Screws
Frequently Asked Questions

I want my fencing delivered, how far away will you deliver?
We deliver split rail fence up to 450 kilometers from our location, charging based on distance and gas usage. For destinations beyond 450 km or across the border, we’re happy to recommend reliable courier services that we’ve used.
I live outside the city. How far can you travel for installation?
We regularly install up to 80 km from our base, depending on fence size and project details. Smaller jobs may qualify for greater distances. Please send us your location and we’ll let you know exactly what’s possible.
I want to get this done this weekend, how soon can I pick up the materials?
Our yard is open Monday to Friday, 8:00 AM – 5:00 PM. If you confirm with our office staff that your materials are in stock in person or by calling ahead, you can pick them up the same day during business hours.